Connect HubSpot & track forms, lifecycle stages, and deals
On the Integrations page, open HubSpot and click Connect. FunnelTrack generates a webhook URL you paste into your HubSpot workflow actions. The URL carries your API key in the ?key= query parameter, so treat it as a secret. Every workflow posts to this same URL.
- 1. Required plan to use workflows
- Before you start: shared setup
- 2. Supported event categories (web & offline)
- Choose what to track
Step-by-step guides: Forms · Lifecycle stages · Deals
1. Required plan to use workflows
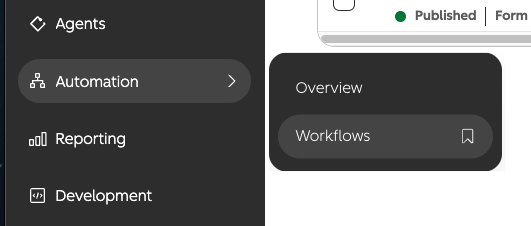
FunnelTrack's HubSpot integration is driven by the Send a webhook workflow action, which is a paid-tier feature.
The Send a webhook workflow action requires Data Hub Professional or Enterprise(formerly named Operations Hub Professional/Enterprise). Without it, HubSpot workflows can't POST events to FunnelTrack, and none of the tracking below will fire.
event value (form_submission, lifecycle_update, or deal_update) shown in each guide.Deploy the FunnelTrack pixel on your site
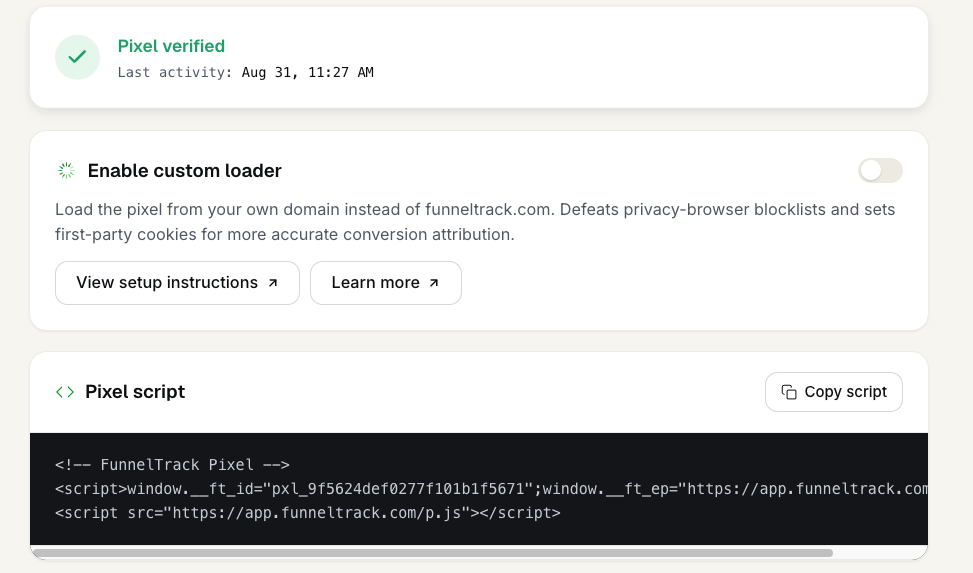
Install the FunnelTrack pixel on every page of your site, especially any page that hosts a HubSpot form. The pixel writes the visitor's session id (ft_sid) and visitor id (ft_uid) that the form flow captures. Copy your snippet from your FunnelTrack dashboard.
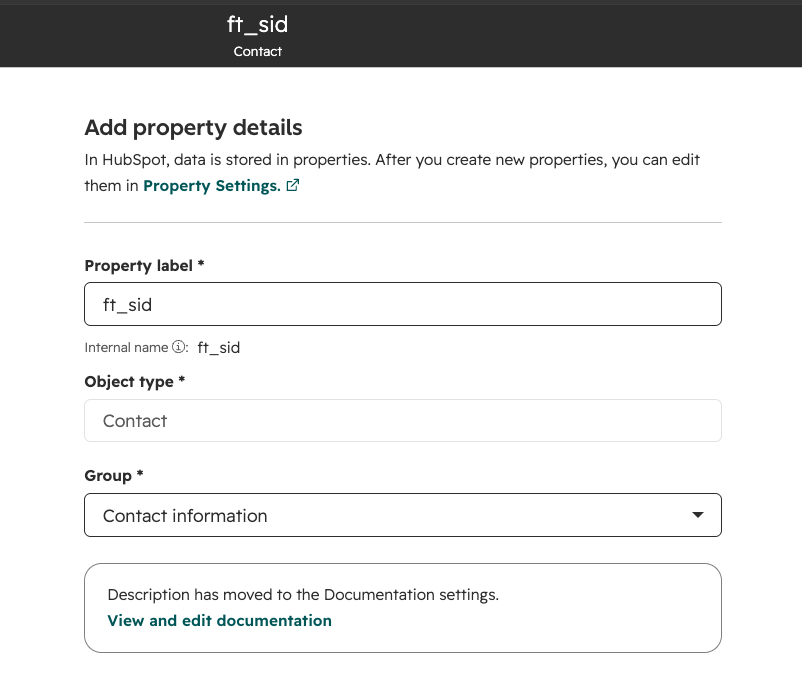
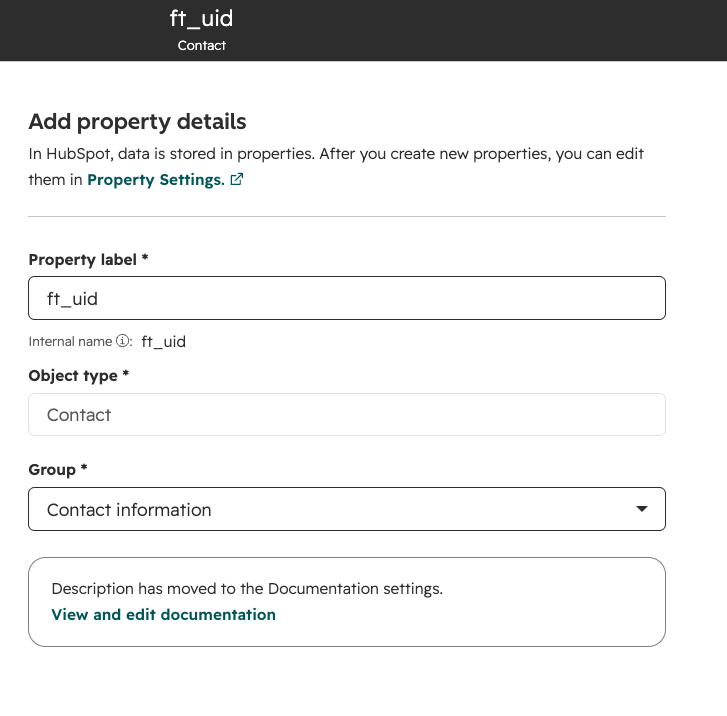
Create the ft_sid and ft_uid contact properties
In HubSpot, create two Contact properties so workflows can reference them in the webhook body. Under Settings → Properties → Create property, add each with the internal name exactly ft_sid and ft_uid, object type Contact, and a single-line text field type.
2. Supported event categories
Three categories, split by whether the event has a live web session behind it or happens CRM-side.
FunnelTrack sorts HubSpot events into three categories. One is a webevent (it happens in the visitor's browser and carries a session), and two are offline events (they happen inside HubSpot with no browser attached).
| Category | Type | How it attributes |
|---|---|---|
| Form Submissions | Web | A hidden ft_sidfield ties the submission to the visitor's pixel session, so the conversion carries click IDs, UTMs, geo, and device. |
| Lifecycle Updates | Offline | CRM-side stage change. Matches back to the contact by ft_uid or email / phone, then to their most recent session. |
| Deal Updates | Offline | CRM-side pipeline change. Same offline matching as lifecycle updates, keyed on the associated contact. |
Every workflow sets one static field, event, which tells FunnelTrack which branch to run: form_submission, lifecycle_update, or deal_update.
ft_uid on offline workflows makes that match far more reliable than email / phone alone.Choose what to track
Each flow has its own step-by-step guide with screenshots.
Add hidden ft_sid / ft_uid fields, feed them from the pixel, and fire a workflow on submission. Stitches to the exact ad session.
Fire a workflow when a contact's lifecycle stage changes. Matches back to the contact and their most recent session.
Open guideFire a workflow when a deal moves stages. Carries deal revenue and matches back to the associated contact.
Open guideTo route a specific form, lifecycle stage, or deal stage differently, open a destination page, use Add Custom Event, pick the matching category, and enter the HubSpot hs_form_id, lifecyclestage value, or dealstage id. Still stuck? Contact support.